
DIY Custom Car Painting: Tips from the Pros


Understanding the Basics of Car Painting
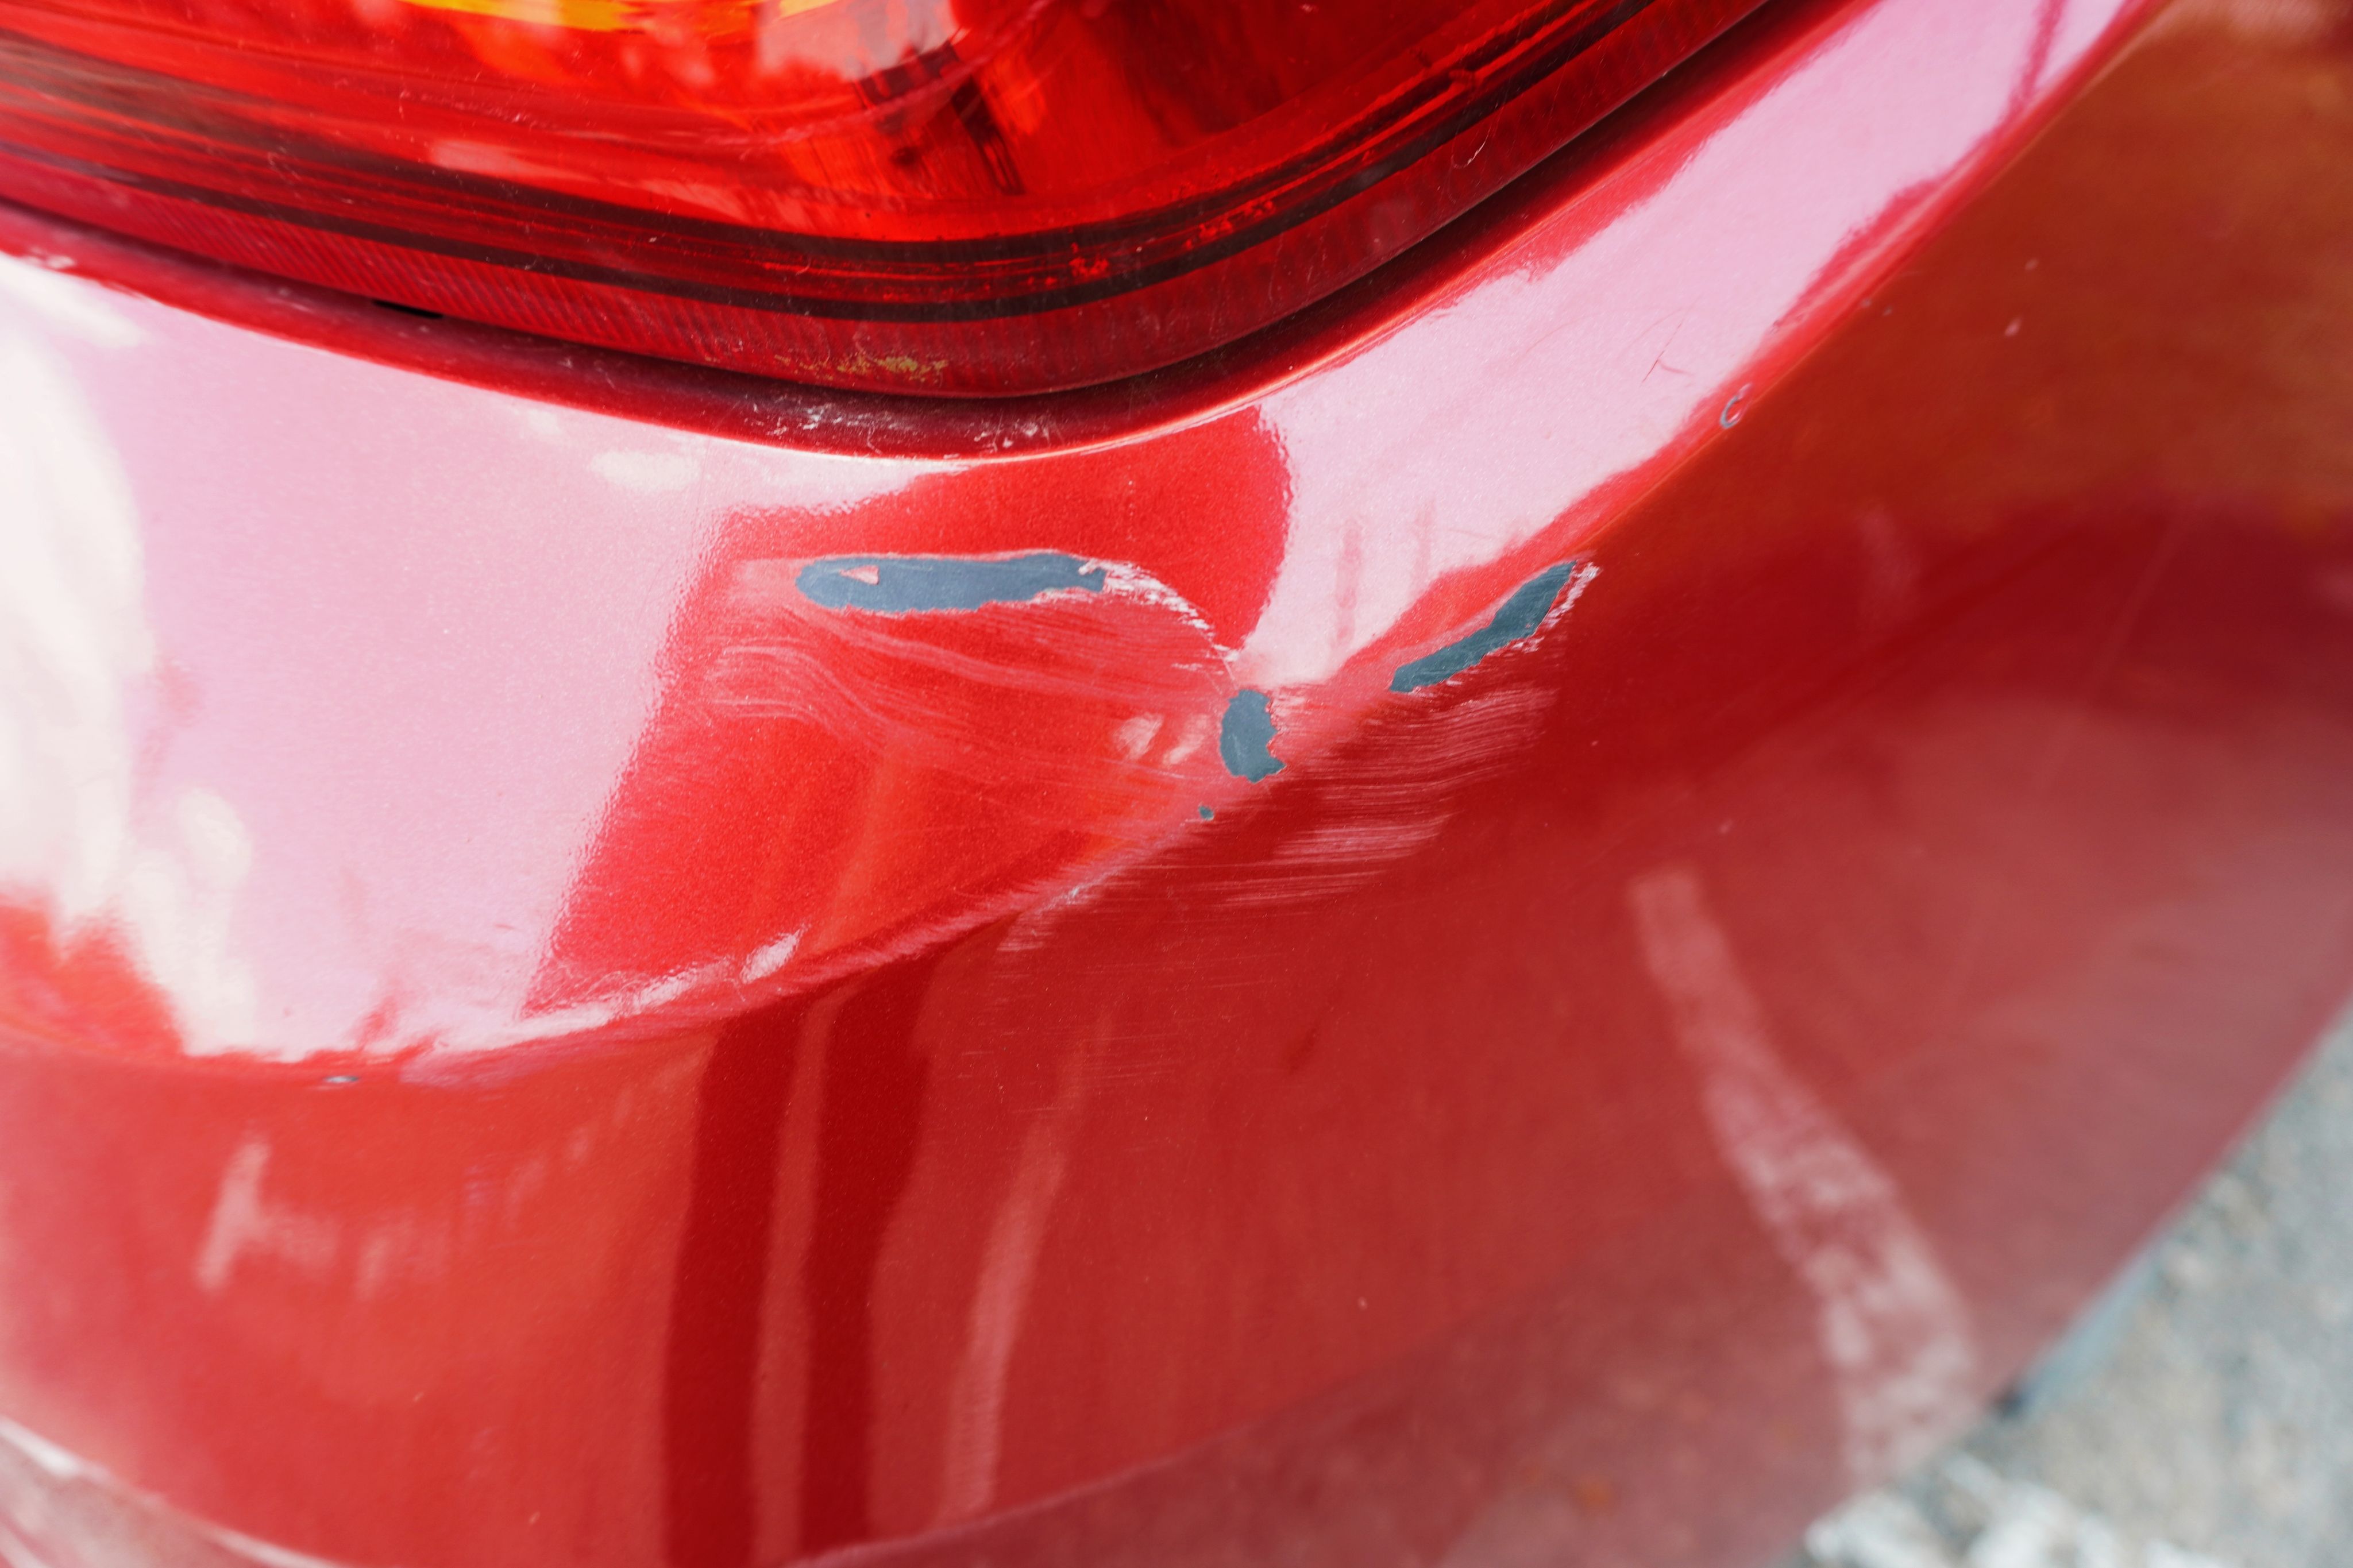
Taking on a DIY car painting project can be both exciting and rewarding. However, before diving in, it's important to understand the basics. Painting a car is a meticulous process that requires patience and precision. The first step is to gather all the necessary tools and materials, such as sandpaper, primer, paint, and clear coat. Make sure to choose a well-ventilated area for your project to ensure safety and optimal results.
Preparation is key to achieving a professional-looking finish. Start by thoroughly washing your car to remove dirt, grime, and any wax residues. Follow this by sanding the car's surface to create a smooth base for the paint to adhere to. Use a tack cloth to remove dust particles after sanding.
Choosing the Right Paint
Selecting the right paint is crucial for a successful DIY car painting project. There are various types of automotive paints available, including urethane, acrylic, and enamel. Each type has its own set of advantages and disadvantages. For beginners, urethane paint is often recommended due to its durability and ease of application.
When choosing a color, consider the current color of your car. If you're planning a complete color change, expect to spend more time and effort. It's also important to purchase high-quality paint to ensure a long-lasting finish.
Applying Primer and Paint
Applying primer is an essential step in the car painting process. A good primer will help the paint adhere better and provide a uniform surface. Apply the primer in thin, even coats, allowing each coat to dry completely before applying the next. Typically, two to three coats of primer are recommended.
Once the primer is dry, it's time to apply the paint. Use a spray gun for best results, maintaining a consistent distance from the surface and moving in steady, overlapping strokes. This will help prevent drips and achieve an even coat. Allow each coat to dry thoroughly before applying the next, typically waiting about 20-30 minutes between coats.
Finishing Touches with Clear Coat
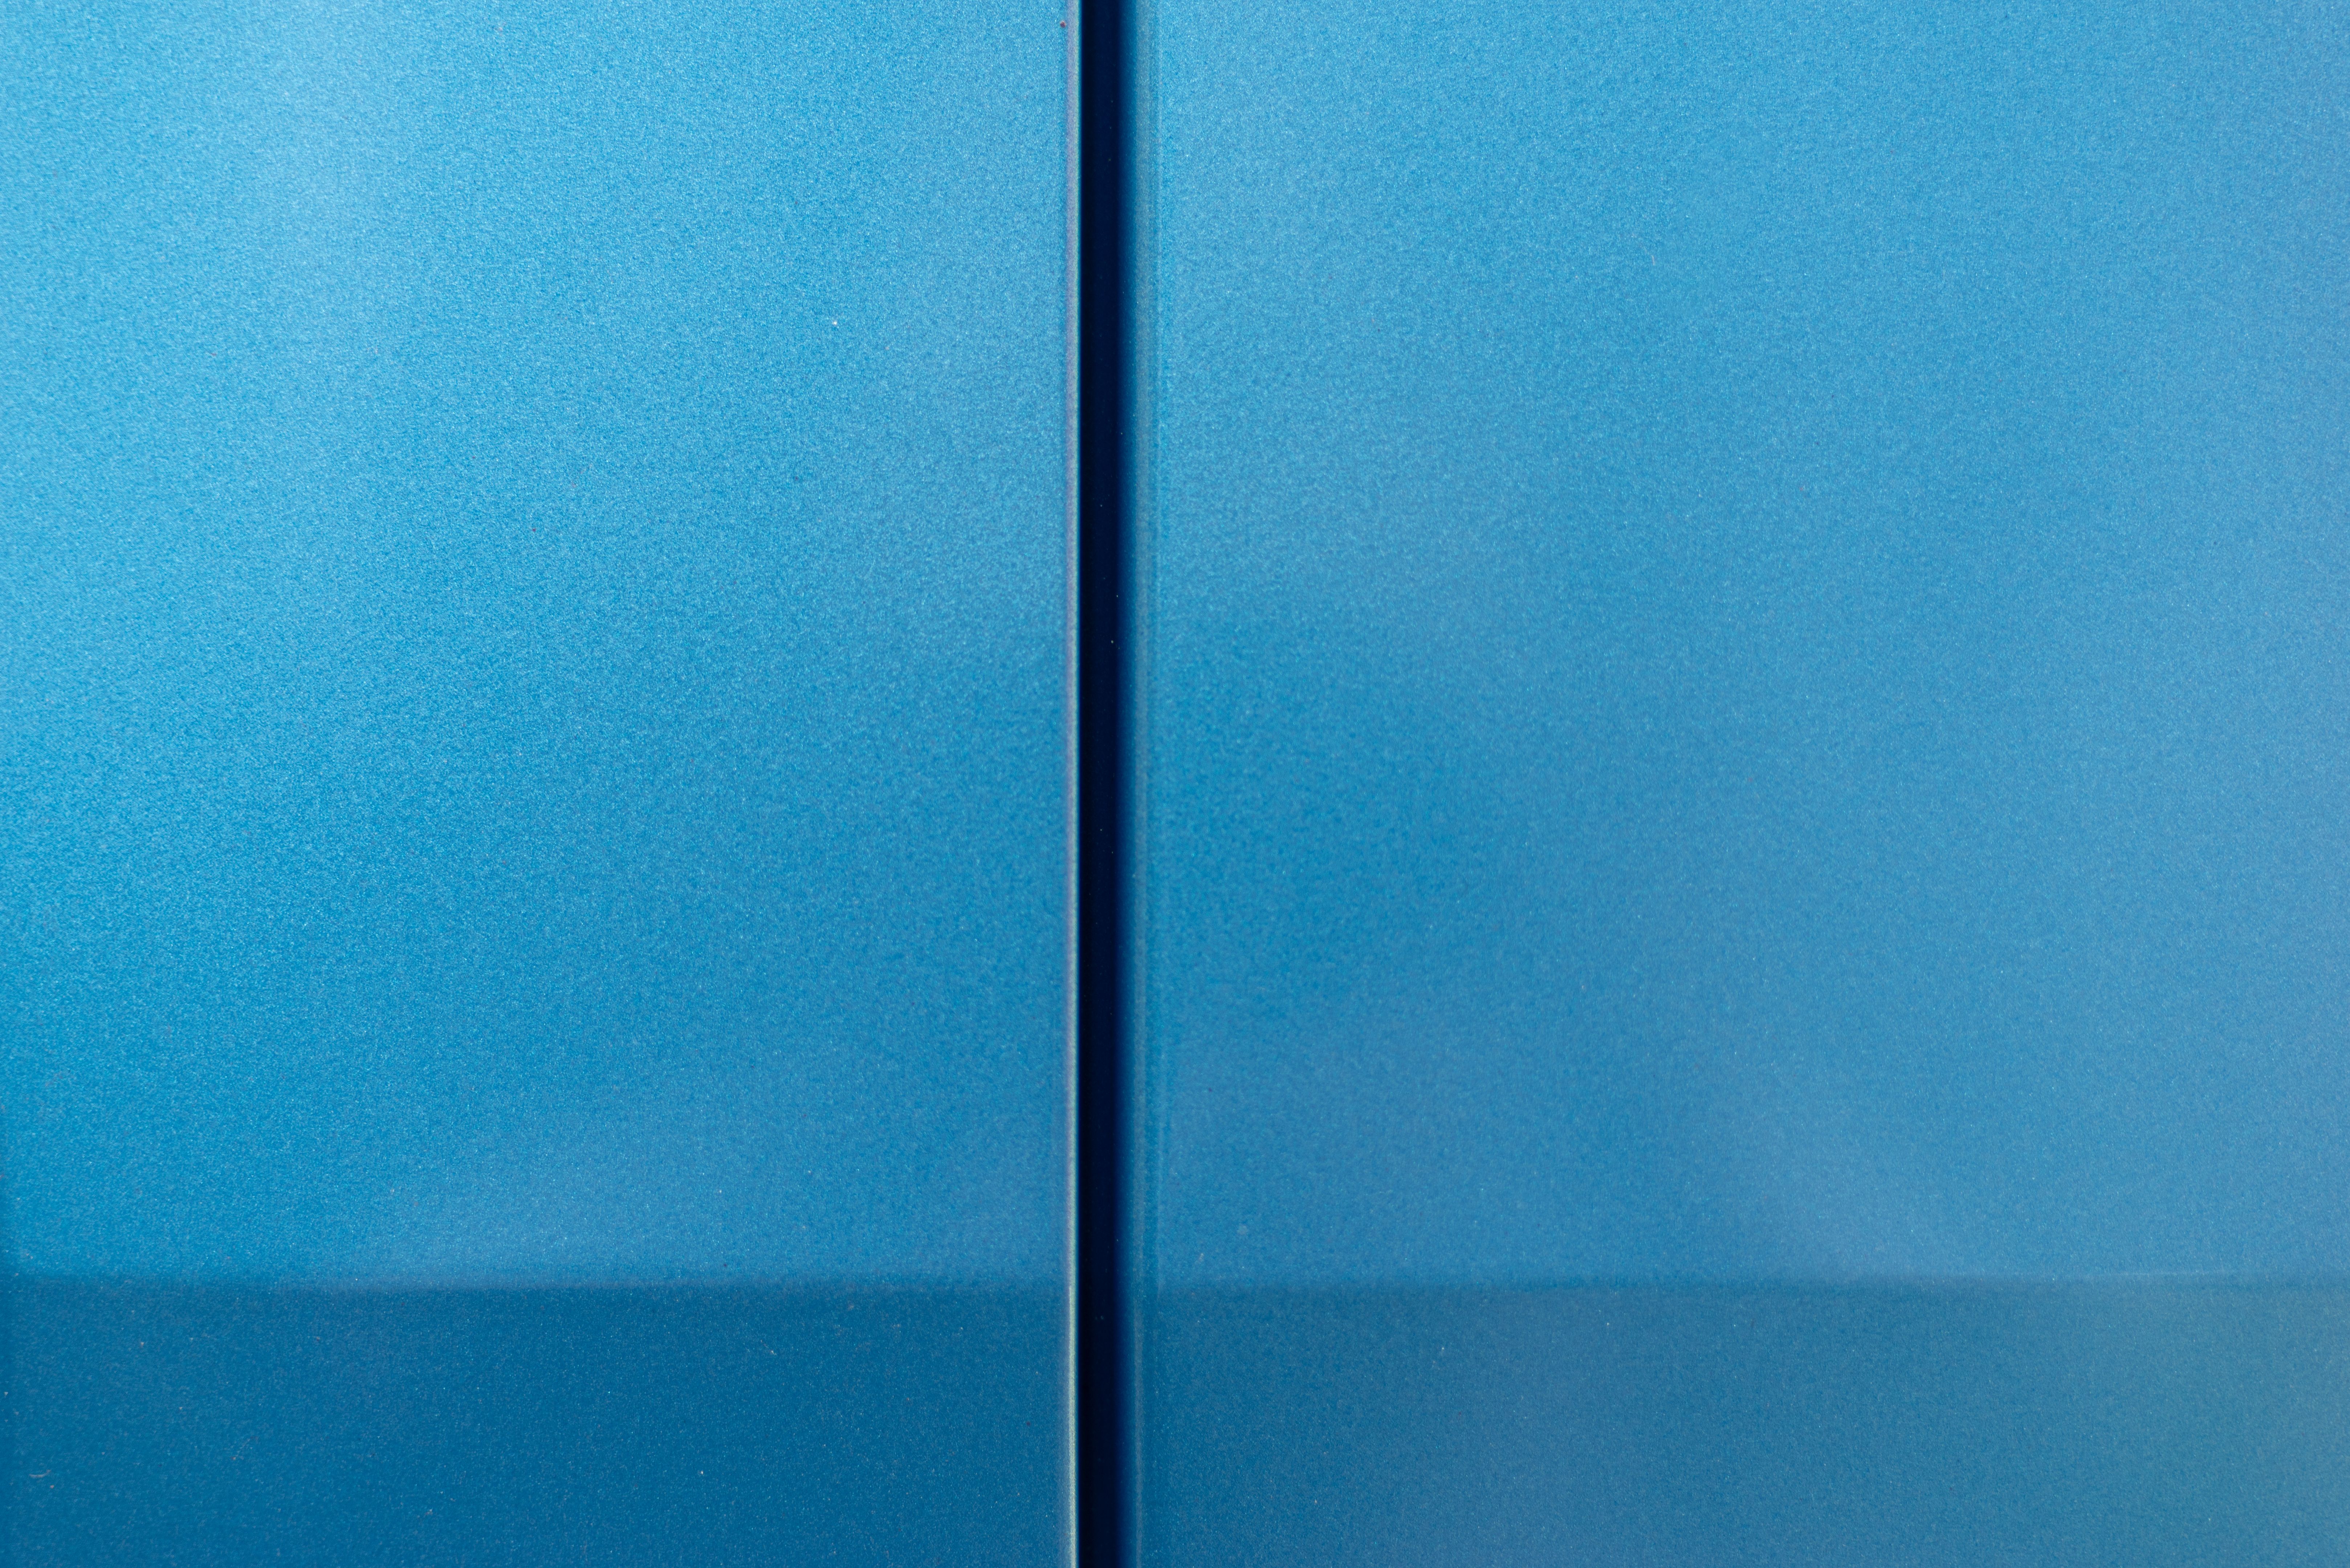
After applying the base paint, it's time to protect your work with a clear coat. The clear coat adds a glossy finish and protects the paint from UV rays and environmental damage. Just like with the primer and paint, apply the clear coat in thin, even layers, allowing each coat to dry before applying the next.
Typically, two to three coats of clear should suffice. Once the clear coat is applied, allow the car to cure in a dust-free environment for several days. This will ensure that the paint and clear coat harden properly, providing a durable finish.
Polishing for That Professional Shine
Polishing is the final step in achieving a showroom-quality finish. After the paint and clear coat have fully cured, use a high-quality automotive polish to bring out the shine. Apply the polish using a soft cloth or a polishing machine, working in small sections to avoid swirl marks.
Buff the polish in circular motions until the desired shine is achieved. This step not only enhances the appearance of the paint but also removes any minor imperfections and adds an extra layer of protection.
Maintaining Your Newly Painted Car
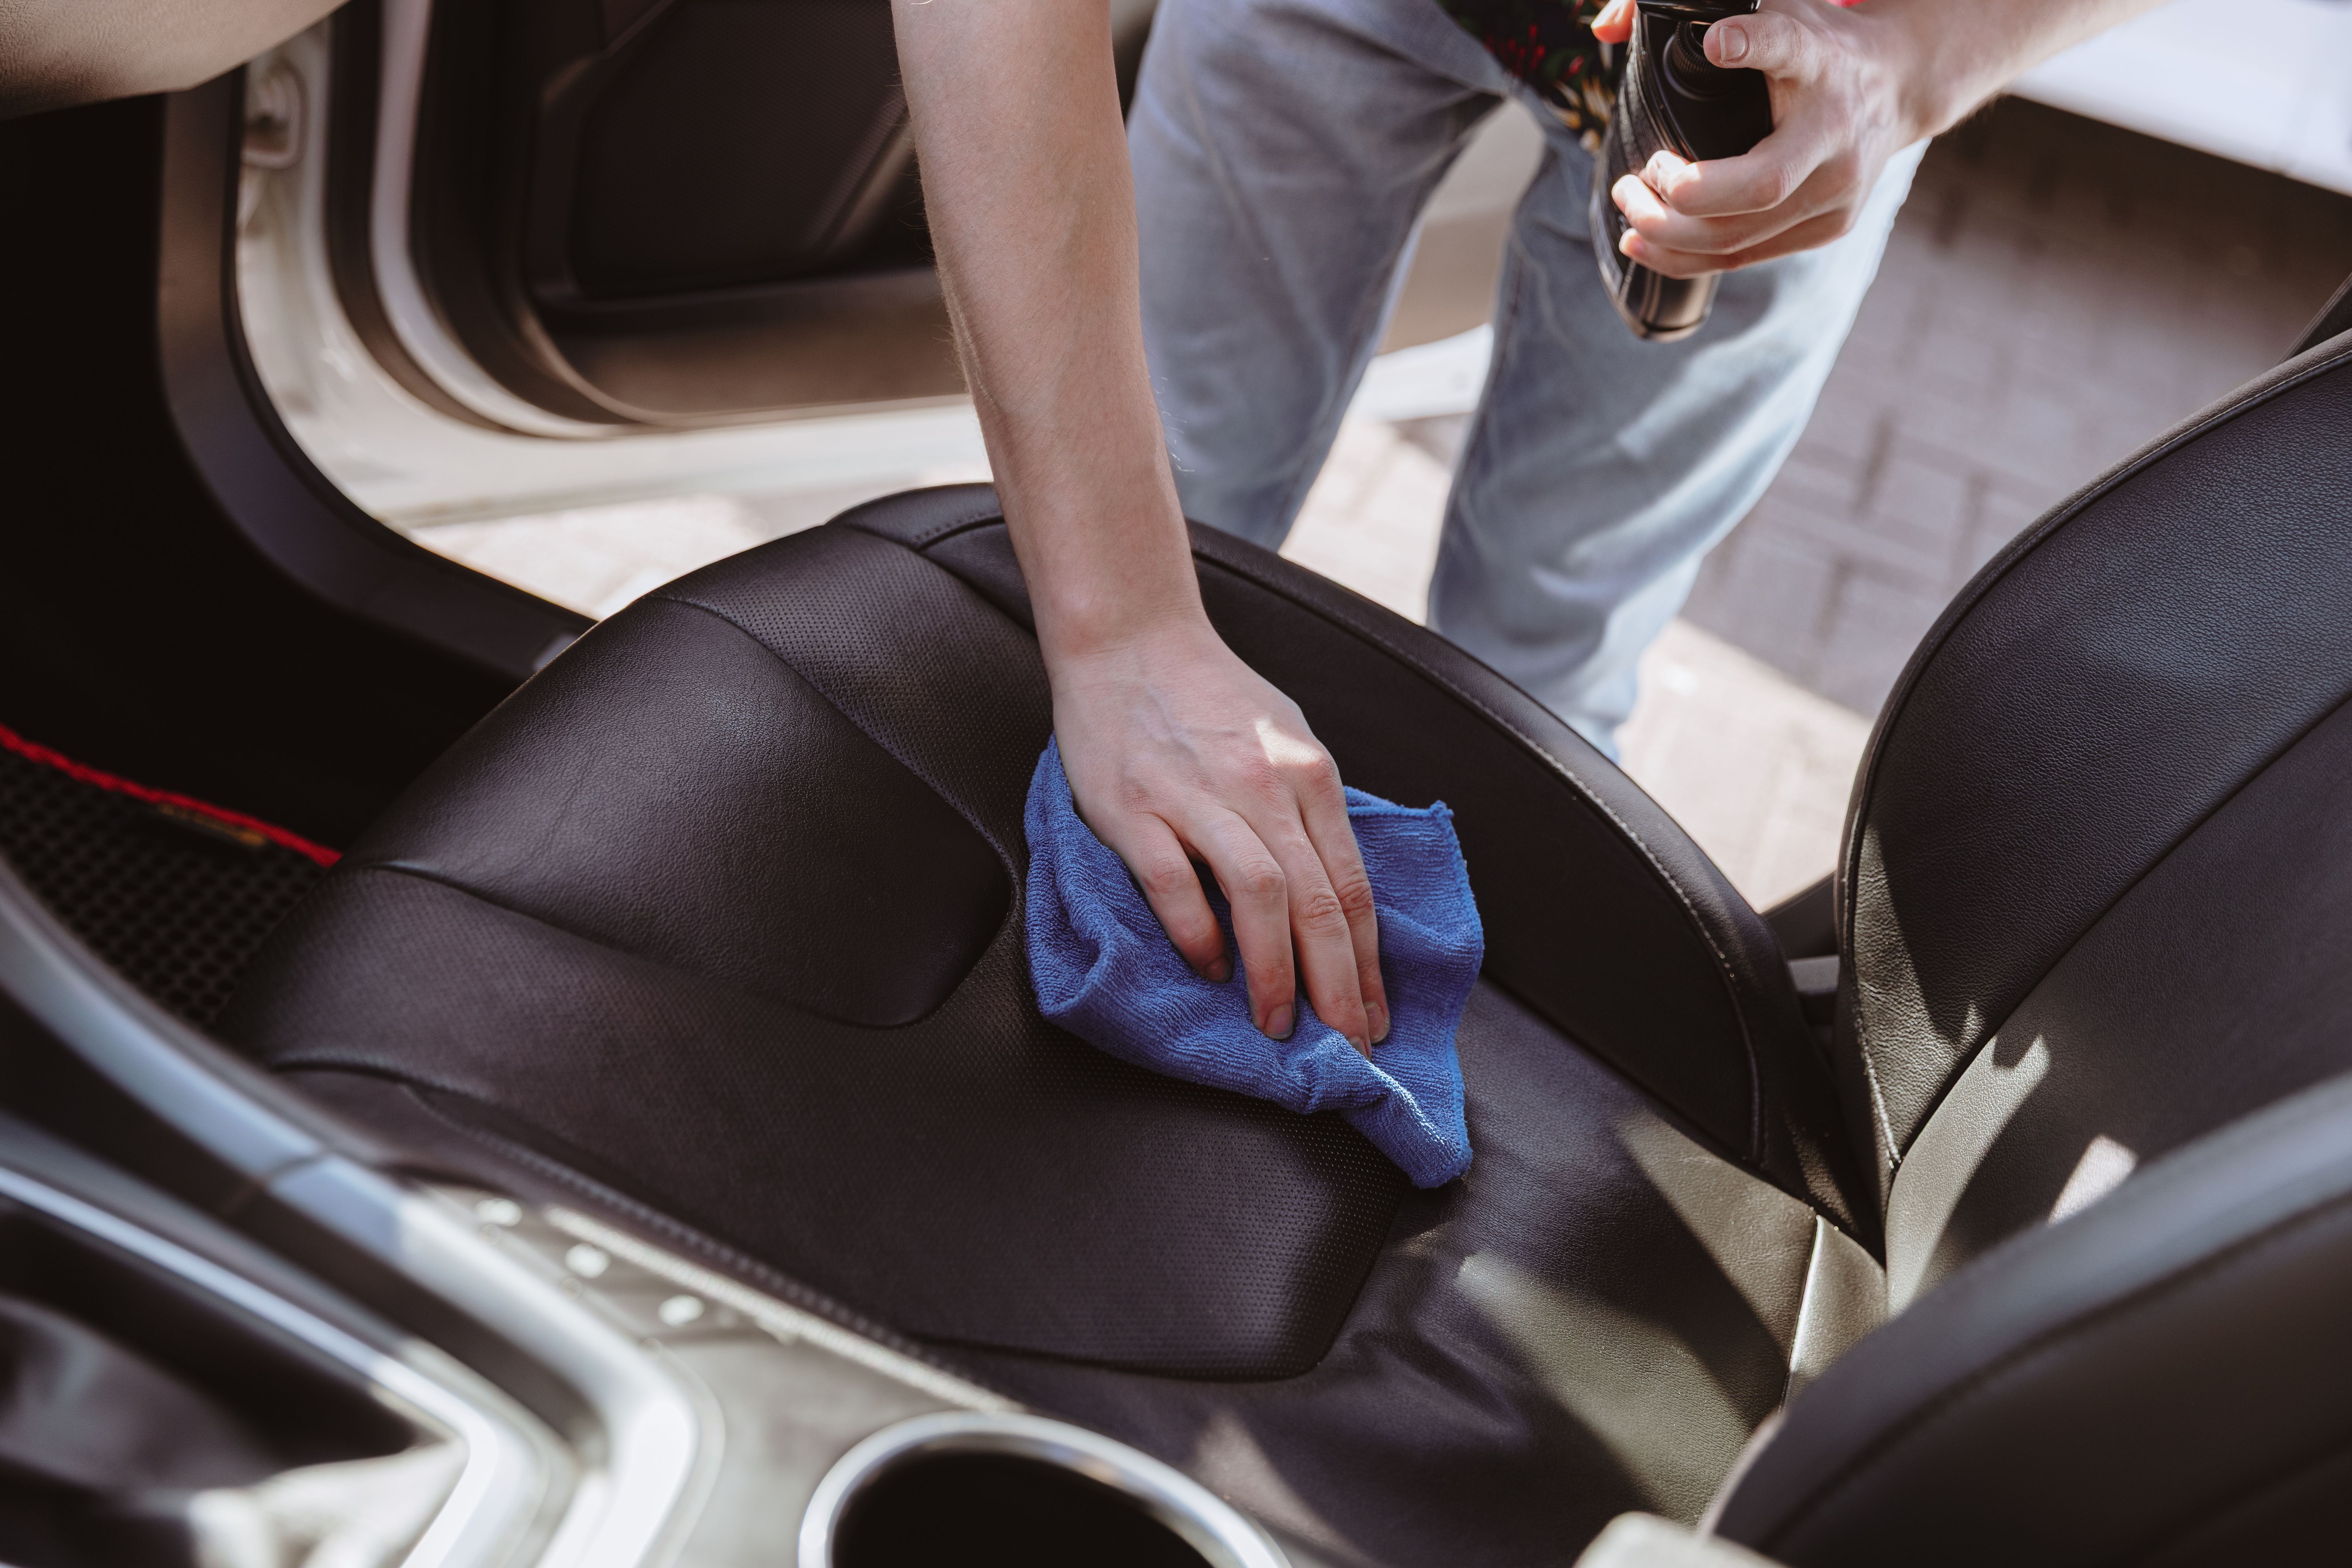
Once you've completed your DIY car painting project, proper maintenance is crucial to keep your car looking its best. Avoid washing the car for at least 30 days after painting to allow the paint to fully cure. When you do wash it, use a mild car wash soap and a soft sponge or cloth.
Regular waxing will also help to protect the paint and maintain its shine. Apply a high-quality automotive wax every few months, following the instructions on the product label. With proper care, your DIY paint job can last for many years and continue to turn heads on the road.